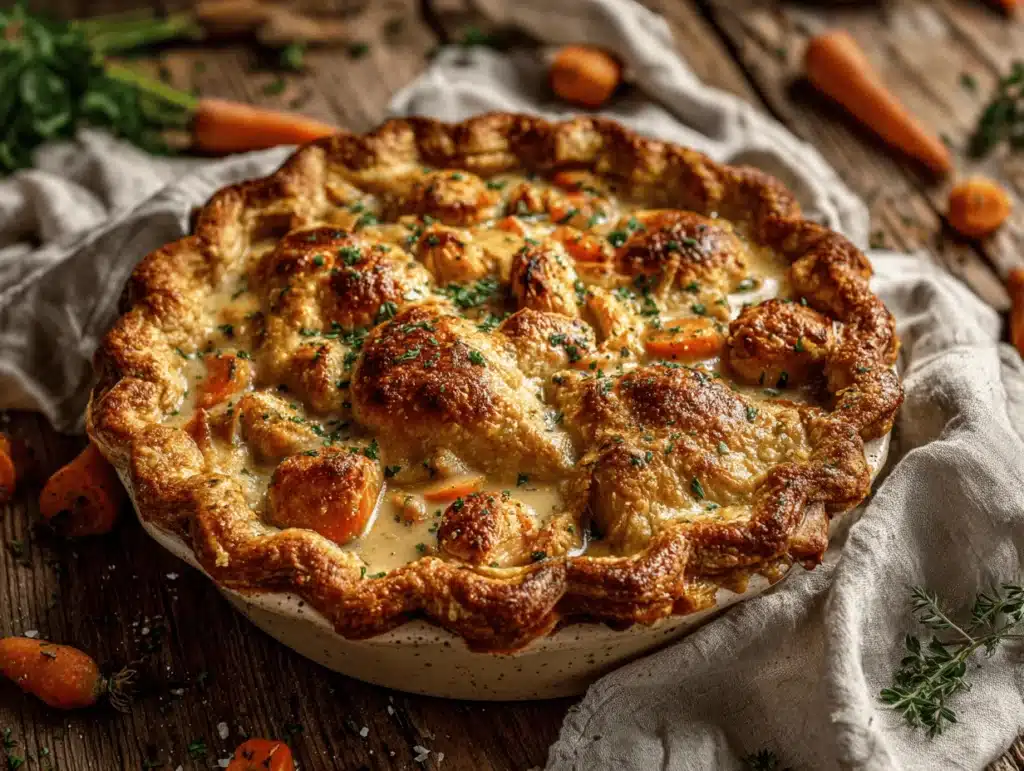
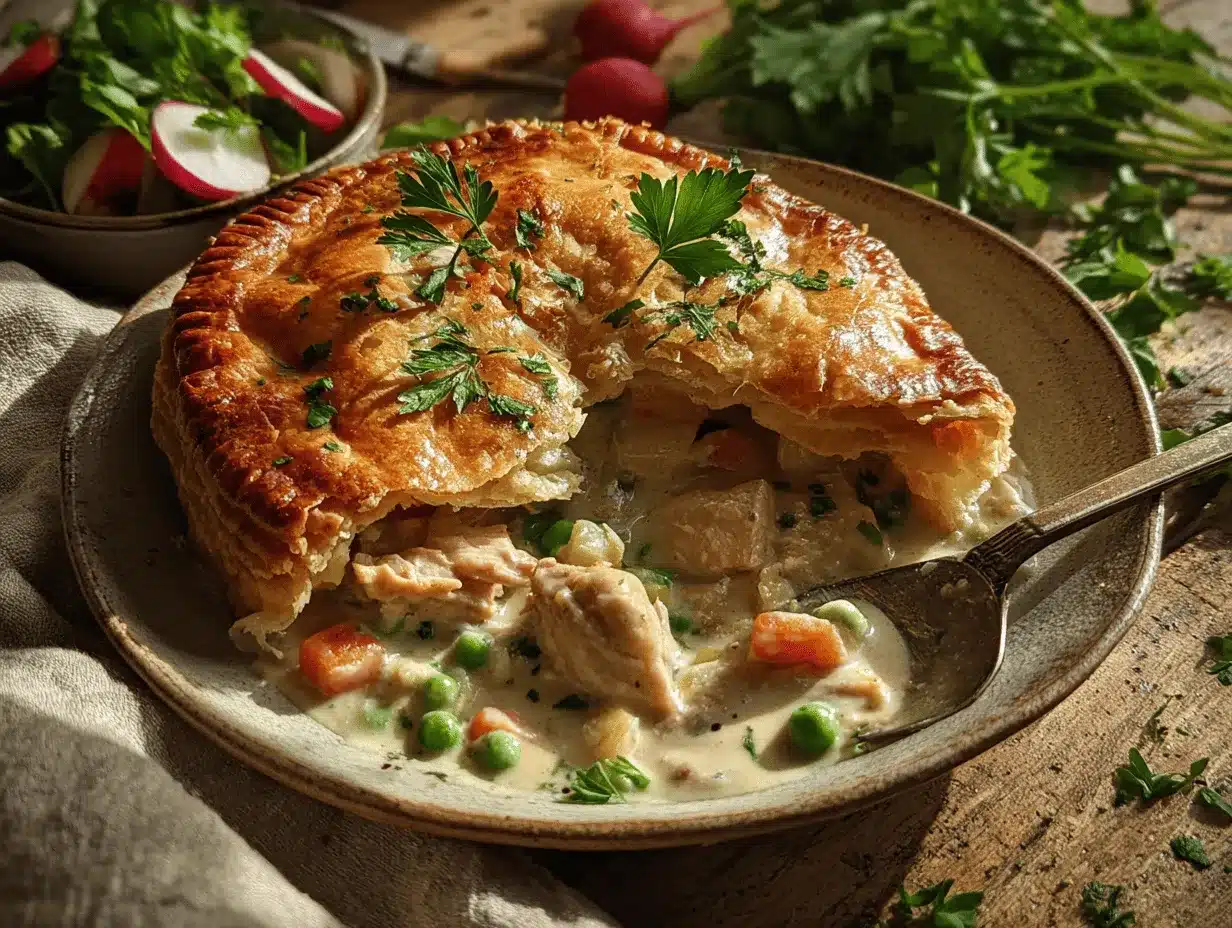
The moment I sink my fork into a slice of this Drumstick Pie, the crunchy, golden crust gives way to a cool, creamy filling, and suddenly, I’m six years old again—standing in line for an ice cream truck on a sun-soaked afternoon. You know, dessert nostalgia runs deep, and if there’s one sweet treat that always brings a smile to my face, it’s this pie. I first whipped up a Drumstick Pie when I wanted to recreate my favorite childhood ice cream cone—crunchy, nutty, chocolatey, and oh-so-creamy—but in a form that could feed a crowd (and honestly, survive the summer heat much better than a cone).
Here’s the best part: this Drumstick Pie recipe transforms everything you love about those iconic cones into a shareable dessert with a homemade flaky crust that will have everyone fighting over the last piece. I’ve baked this pie for birthdays, backyard BBQs, and random Tuesday cravings. After tweaking the crust (because let’s face it, a soggy bottom is nobody’s friend) and perfecting the chocolate-peanut butter ratio, I can promise you this is a dessert with serious wow-factor.
Whether you’re a busy parent looking for an easy make-ahead treat, a Pinterest addict searching for something guaranteed to get re-pinned, or just someone with a sweet tooth and a love for classic flavors, this Drumstick Pie recipe delivers. The flaky pie crust gives structure and buttery flavor, while the filling packs all the creamy, nutty, and chocolatey notes you crave. If you love desserts with personality and comfort, get ready to add this one to your regular rotation!
Why You’ll Love This Drumstick Pie Recipe
- Quick & Easy: Comes together in under 45 minutes, including prep—great for last-minute get-togethers or when you need dessert without the fuss.
- Simple Ingredients: No need to hunt for specialty items; you probably have everything from flour to peanut butter right in your pantry.
- Perfect for Parties: Whether it’s a birthday, game night, or just a cozy weekend, this pie is a crowd-pleaser. It’s also super easy to slice and serve.
- Kid & Adult Approved: My nieces go wild for the chocolate drizzle, while grown-ups rave about the flaky crust and creamy filling.
- Unbelievably Delicious: The texture combo—crisp crust, smooth filling, crunchy peanuts, and rich chocolate—is something you’ll remember. It’s comfort food with a little flair.
What makes this Drumstick Pie recipe stand out? Honestly, it all starts with the crust. I use a homemade flaky dessert crust that’s buttery and crisp, not a soggy cookie base like so many recipes. There’s a special trick to getting the filling silky: blending cream cheese with a touch of peanut butter and whipped cream. And let’s not forget that signature chocolate shell and salty peanuts—just like the cones, but even better because every bite has all the layers.
I’ve tested this pie a dozen times—sometimes swapping in almond butter, sometimes changing up the chocolate. Every time, it’s a hit. This isn’t just another ice cream-inspired dessert; it’s my go-to for making people smile. If you want a slice of pure joy (with a little crunch), you’ve found your recipe. It’s comfort food, but with a Pinterest-worthy finish!
Ingredients Needed for Drumstick Pie
This recipe uses simple, wholesome ingredients to deliver that bold flavor and satisfying texture you crave—without any complicated steps. Most of these are pantry staples, and you can easily swap or adjust based on what you have.
For the Flaky Dessert Crust:
- 1 1/4 cups (150g) all-purpose flour
- 1/4 teaspoon salt
- 1/2 cup (115g) unsalted butter, cold and cubed
- 3-4 tablespoons (45-60ml) ice water
For the Creamy Drumstick Filling:
- 8 oz (225g) cream cheese, softened
- 1/2 cup (120ml) creamy peanut butter (smooth, not chunky)
- 1/2 cup (100g) granulated sugar
- 1 teaspoon vanilla extract
- 1 cup (240ml) heavy whipping cream
For the Chocolate Layer and Topping:
- 1 cup (170g) semi-sweet chocolate chips
- 2 tablespoons (30g) unsalted butter
- 1/2 cup (60g) roasted peanuts, chopped (salted or unsalted, your choice)
- Optional: 1/4 cup (30g) crushed waffle cone pieces (for extra crunch)
Ingredient Notes:
- For the crust, I love using King Arthur flour for consistent texture.
- If you’re dairy-free, swap in plant-based cream cheese and coconut cream for the filling.
- Want it gluten-free? Use a 1:1 gluten-free flour blend for the crust.
- For extra chocolate, drizzle melted chocolate over the top before serving.
- If you’re a fan of almond butter, feel free to swap it for peanut butter—equally delicious!
Honestly, the ingredient list is simple, but each element brings something special. The crust gives structure, the filling brings creamy and nutty notes, while the chocolate and peanuts add that signature Drumstick crunch. It’s all about the layers!
Equipment Needed
- 9-inch (23cm) pie pan: Any standard pie dish works—metal, ceramic, or glass. I prefer glass for easy monitoring.
- Mixing bowls: At least two—one for the crust, one for the filling.
- Pastry cutter or food processor: For cutting in the butter. A fork works in a pinch, but pastry cutters make it easier.
- Electric mixer or stand mixer: Whips the filling perfectly smooth. You can use a hand whisk, but it’s more work!
- Rolling pin: For rolling out the crust. If you don’t have one, a wine bottle works (I’ve done that more than once).
- Measuring cups and spoons: Accurate measurements matter for both crust and filling.
- Small saucepan: For melting chocolate and butter for the topping.
- Rubber spatula: Perfect for scraping every last bit of filling and melted chocolate.
If you’ve ever battled with a sticky rolling pin, just dust it with a little flour. For budget-friendly options, I’ve used thrift store pie pans and basic mixing bowls—no need for fancy gear! And if you’re using a food processor for the crust, pulse gently (don’t overmix or the crust gets tough). Keep those tools clean and dry for best results, especially the mixer—peanut butter loves to stick!
Preparation Method: How to Make Drumstick Pie with Flaky Dessert Crust
-
Make the Flaky Dessert Crust:
In a mixing bowl, combine 1 1/4 cups (150g) flour and 1/4 teaspoon salt. Add 1/2 cup (115g) cold, cubed butter. Blend with a pastry cutter (or pulse in a food processor) until the mixture resembles coarse crumbs.
Add 3-4 tablespoons (45-60ml) ice water, one tablespoon at a time, until the dough just comes together.
Shape into a disk, wrap in plastic, and chill for 20 minutes. (If the dough feels sticky, add a sprinkle more flour.) -
Roll and Bake the Crust:
Preheat your oven to 375°F (190°C). On a floured surface, roll out the chilled dough to fit your 9-inch (23cm) pie pan.
Gently lay the dough in the pan, trim edges, and crimp if you’re feeling fancy.
Prick the bottom with a fork. Bake for 15-18 minutes until golden brown. Cool completely. (Don’t rush this—warm crust will melt your filling!) -
Prepare the Creamy Filling:
In a large bowl, beat 8 oz (225g) cream cheese until smooth. Add 1/2 cup (120ml) peanut butter, 1/2 cup (100g) sugar, and 1 teaspoon vanilla. Beat until well blended.
In a separate bowl, whip 1 cup (240ml) heavy cream until stiff peaks form. Fold into the peanut butter mixture gently. (Go slow—overmixing makes it dense.) -
Assemble the Pie:
Spread the creamy filling evenly into the cooled crust. Smooth the top with a spatula. (If you want extra crunch, sprinkle 1/4 cup crushed waffle cones over the filling now.) -
Make the Chocolate Topping:
In a small saucepan, melt 1 cup (170g) chocolate chips with 2 tablespoons (30g) butter over low heat, stirring until smooth.
Drizzle the chocolate over the pie using a spoon. Immediately sprinkle with 1/2 cup (60g) chopped peanuts. (Work fast—the chocolate sets quickly!) -
Chill and Serve:
Chill the pie in the fridge for at least 2 hours before slicing. (Overnight is even better—the flavors blend perfectly.)
Slice, serve, and enjoy! If the crust sticks, run a knife under hot water for easy cuts.
Troubleshooting Tips: If your crust cracks, just patch it with a bit of extra dough—nobody will notice. If the filling seems runny, whip the cream a little longer before folding. And if the chocolate hardens too quickly, microwave it for 10 seconds to loosen before drizzling.
I always keep a second pie pan handy—sometimes I double the recipe because, let’s face it, one Drumstick Pie is rarely enough!
Cooking Tips & Techniques
- Getting the Crust Flaky: Cold butter is the key. I’ve tried shortcuts with softened butter—trust me, it’s not the same. Cut the butter into the flour until you see pea-sized bits.
- Don’t Overmix: When adding water to the dough, go slow. Overworking makes the crust tough. I learned this the hard way after a few hockey puck crusts!
- Whip Cream to Stiff Peaks: If your cream isn’t stiff, the filling won’t hold up. Use a cold bowl and cold beaters for best results.
- Chocolate Drizzle Timing: Melt the chocolate just before topping the pie. If it cools, it gets clumpy. If you’re multitasking, keep it warm on the lowest heat.
- Layering Crunch: Adding crushed waffle cones to the filling layer is my secret for a true Drumstick experience. It’s optional, but totally worth it.
- Slice Cleanly: Dip your knife in hot water and wipe between cuts for perfect slices—learned that trick after many messy servings.
One time, I forgot to chill the pie before serving—what a mess! Now I always let it sit overnight if I can. Don’t panic if things don’t look perfect; this pie is all about flavor and fun. If the crust shrinks, just fill in with extra nuts or chocolate. Multitasking is your friend: while the crust bakes, whip the filling and chop your peanuts to save time.
The biggest lesson? Don’t fear imperfection—every pie is a little different, and that’s the charm. Stick with these tips, and your Drumstick Pie will be Pinterest-worthy every time.
Variations & Adaptations
- Gluten-Free Drumstick Pie: Use a gluten-free flour blend for the crust. No one will know the difference—promise!
- Dairy-Free Option: Swap in dairy-free cream cheese and coconut cream for the filling. Use vegan butter for the crust and topping.
- Flavor Twists: Try almond butter or hazelnut spread instead of peanut butter for a new flavor profile. Sprinkle mini chocolate chips or caramel bits on top for extra pizzazz.
- Seasonal Additions: In summer, add sliced strawberries or raspberries between the filling and chocolate layer. In fall, try a swirl of pumpkin puree and pumpkin spice.
- Nut-Free Pie: Skip the peanuts and use sunflower seed butter. Top with crushed pretzels for crunch (perfect for those with allergies).
One of my favorite personal tweaks? Swapping in almond butter and topping with toasted coconut flakes—honestly, it’s a game-changer. This pie recipe adapts easily for different diets and tastes. Whether you have allergies or just want to play with flavors, there’s a Drumstick Pie for everyone!
Serving & Storage Suggestions
Serving: Drumstick Pie is best served chilled—straight from the fridge. Slice with a sharp, warm knife for clean pieces. I love to plate it with a swirl of whipped cream and extra chocolate drizzle. Pair it with iced coffee or a cold glass of milk for that classic ice cream parlor vibe.
Presentation: For parties, sprinkle chopped peanuts and mini chocolate chips on top right before serving. Add a few fresh berries for color—looks gorgeous on a dessert table (and totally Pinterest-worthy).
Storage: Cover leftovers tightly with plastic wrap or store in an airtight container. It keeps in the fridge for up to 4 days. For longer storage, freeze slices individually—just thaw in the fridge before serving. If reheating, let the pie sit at room temperature for 30 minutes (don’t use the microwave or the filling gets runny).
Flavor Notes: The flavors develop overnight—the crust stays flaky, and the filling sets firmer. I swear, it tastes even better on day two. Don’t worry if the chocolate softens a bit in storage; it’s still delicious!
Nutritional Information & Benefits
Each slice of Drumstick Pie (1/8 of the pie) has approximately:
- Calories: 420
- Fat: 27g
- Carbohydrates: 38g
- Protein: 8g
Key Benefits: The peanuts and peanut butter add healthy fats and a little protein. The homemade crust means you skip preservatives found in store-bought versions. If you use gluten-free flour, it’s suitable for gluten-sensitive eaters. The pie contains dairy and nuts, so watch out for those allergens.
From a wellness perspective, I love that this dessert satisfies those sweet cravings with real ingredients. It’s not exactly health food, but you know what? Sometimes comfort wins—and that’s okay! If you’re watching carbs, try a low-carb sweetener in the filling; it works surprisingly well.
Conclusion
If you’re searching for a dessert that’s easy, nostalgic, and guaranteed to impress, this Drumstick Pie recipe is it. The flaky crust, creamy filling, and rich chocolate topping combine everything you love about classic ice cream cones—only better, because you can share it (or not!).
Don’t be afraid to make it your own—switch up the nut butter, add berries, or go gluten-free. I make this pie for almost every family gathering, and it’s always the first to disappear from the table. It’s a recipe with heart, story, and plenty of flavor.
Give it a try, snap a photo, and let me know how you adapted it in the comments. I love hearing your twists on this classic! Remember, a little imperfection makes every pie unique. Happy baking, and here’s to sweet memories and even sweeter desserts!
Frequently Asked Questions
Can I make Drumstick Pie ahead of time?
Absolutely! It actually tastes better after sitting overnight in the fridge. Just cover tightly and chill until ready to serve.
Can I use store-bought crust instead of homemade?
You can—just bake it according to package instructions before adding the filling. Homemade is flakier and more flavorful, though!
What if I don’t have peanuts?
No problem. Try chopped almonds, cashews, or skip nuts entirely and use crushed pretzels for crunch.
How do I keep the crust from getting soggy?
Cool the crust completely before adding the filling. You can also brush a little melted chocolate on the crust as a barrier before filling.
Can I freeze Drumstick Pie?
Yes! Slice the pie and wrap each piece individually. Thaw in the fridge before serving for best texture and flavor.
Pin This Recipe!

Drumstick Pie Recipe: Easy Homemade Dessert with Flaky Crust
- Total Time: 2 hours 38 minutes
- Yield: 8 servings 1x
Description
This Drumstick Pie transforms the nostalgic flavors of a classic ice cream cone into a crowd-pleasing dessert with a homemade flaky crust, creamy peanut butter filling, and a crunchy chocolate-peanut topping. Perfect for parties, birthdays, or any sweet craving, it’s easy to make and guaranteed to impress.
Ingredients
- 1 1/4 cups all-purpose flour
- 1/4 teaspoon salt
- 1/2 cup unsalted butter, cold and cubed
- 3–4 tablespoons ice water
- 8 oz cream cheese, softened
- 1/2 cup creamy peanut butter (smooth, not chunky)
- 1/2 cup granulated sugar
- 1 teaspoon vanilla extract
- 1 cup heavy whipping cream
- 1 cup semi-sweet chocolate chips
- 2 tablespoons unsalted butter
- 1/2 cup roasted peanuts, chopped
- Optional: 1/4 cup crushed waffle cone pieces
Instructions
- Make the Flaky Dessert Crust: In a mixing bowl, combine flour and salt. Add cold, cubed butter and blend with a pastry cutter or pulse in a food processor until the mixture resembles coarse crumbs. Add ice water, one tablespoon at a time, until the dough just comes together. Shape into a disk, wrap in plastic, and chill for 20 minutes.
- Roll and Bake the Crust: Preheat oven to 375°F (190°C). On a floured surface, roll out the chilled dough to fit a 9-inch pie pan. Lay the dough in the pan, trim edges, and crimp. Prick the bottom with a fork. Bake for 15-18 minutes until golden brown. Cool completely.
- Prepare the Creamy Filling: In a large bowl, beat cream cheese until smooth. Add peanut butter, sugar, and vanilla; beat until well blended. In a separate bowl, whip heavy cream until stiff peaks form. Fold whipped cream into the peanut butter mixture gently.
- Assemble the Pie: Spread the creamy filling evenly into the cooled crust. Smooth the top with a spatula. (Optional: Sprinkle crushed waffle cones over the filling.)
- Make the Chocolate Topping: In a small saucepan, melt chocolate chips with butter over low heat, stirring until smooth. Drizzle chocolate over the pie using a spoon. Immediately sprinkle with chopped peanuts.
- Chill and Serve: Chill the pie in the fridge for at least 2 hours before slicing. Slice, serve, and enjoy!
Notes
For best results, use cold butter for the crust and whip cream to stiff peaks for the filling. Chill the pie overnight for optimal flavor and texture. Add crushed waffle cones for extra crunch. Gluten-free and dairy-free adaptations are possible. Slice with a warm knife for clean servings.
- Prep Time: 20 minutes
- Cook Time: 18 minutes
- Category: Dessert
- Cuisine: American
Nutrition
- Serving Size: 1 slice (1/8 of pie)
- Calories: 420
- Sugar: 20
- Sodium: 220
- Fat: 27
- Saturated Fat: 13
- Carbohydrates: 38
- Fiber: 2
- Protein: 8
Keywords: drumstick pie, ice cream pie, peanut butter dessert, chocolate pie, flaky crust, summer dessert, party dessert, nostalgic dessert, easy pie recipe
