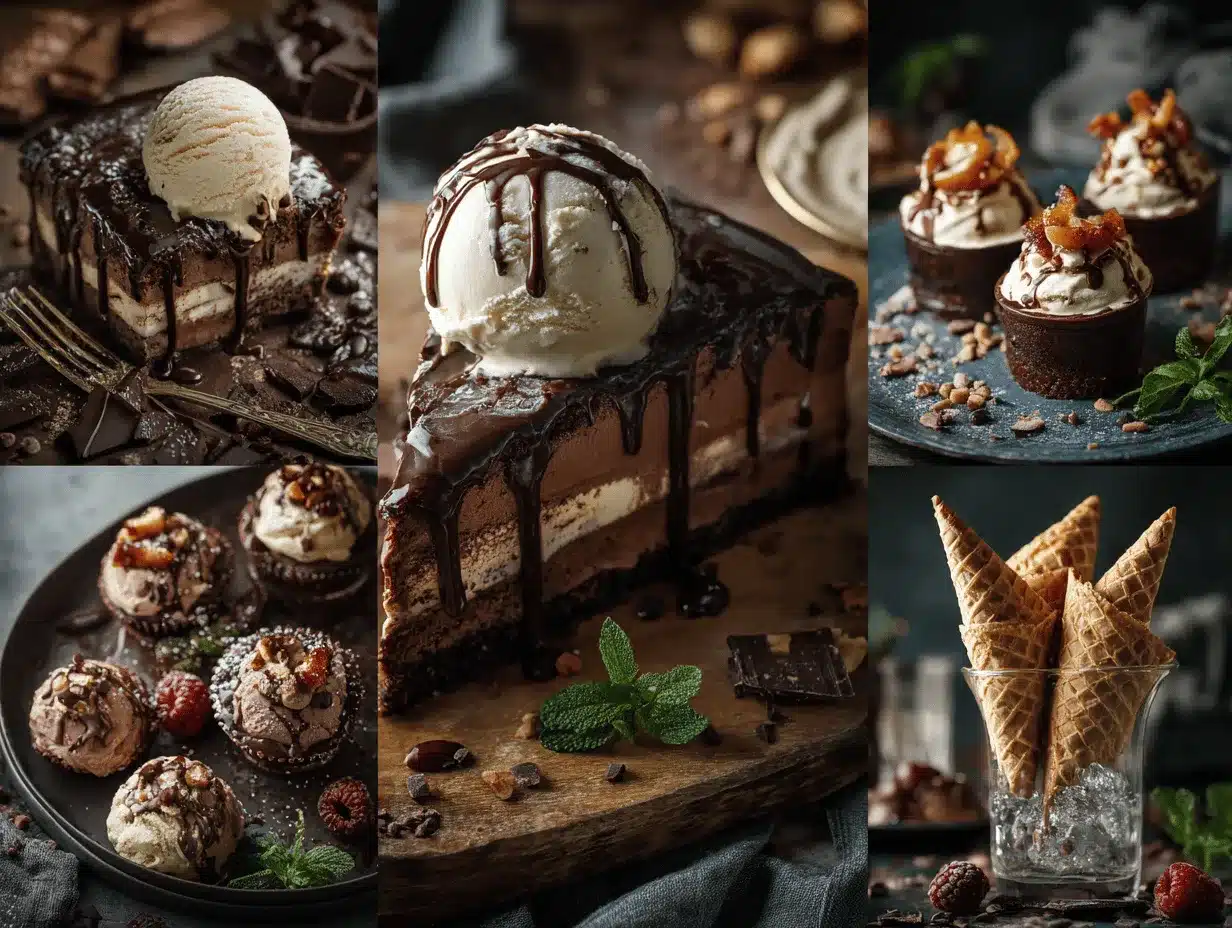
The first time I served my choco-cake ice cream dessert at a party, the room actually went quiet for a moment—everyone was too busy savoring their first spoonful to say anything. You know that feeling when you bring out something beautiful and homemade, and people just light up? This dessert does exactly that. It’s got layers of soft chocolate cake, creamy ice cream, and a little crunch that makes each bite a tiny celebration. Honestly, I stumbled onto this recipe during a late-night baking session when leftover cake met a half-melted tub of vanilla ice cream in my freezer. Sometimes, the best things come from those happy accidents, right?
This choco-cake ice cream dessert is my go-to for party appetizers because it’s fuss-free, wildly delicious, and—let’s face it—looks stunning on a platter. I’ve tweaked the recipe over time, adding a drizzle here, a sprinkle there, until it became the ultimate showstopper for gatherings. Whether it’s for birthday parties, holiday feasts, or casual get-togethers, this dessert always disappears in minutes. Plus, it’s the kind of treat that feels fancy but doesn’t require hours in the kitchen (I promise!).
What I love most is how adaptable it is. If you need a gluten-free option or want to make it dairy-free, you can easily swap a few ingredients. I’ve tested this choco-cake ice cream dessert more times than I can count, and every time, someone asks for the recipe. So, if you’re looking for an easy party appetizer recipe that delivers on flavor, texture, and visual appeal, this is it. Let’s dive in—your guests are going to remember this one!
Why You’ll Love This Recipe
- Quick & Easy: You can whip up this choco-cake ice cream dessert in under 30 minutes (plus chill time). Perfect for those moments when you need a party appetizer that doesn’t take all day!
- Simple Ingredients: No need for specialty shopping; you probably have everything you need in your pantry and freezer right now.
- Perfect for Any Occasion: Whether it’s a birthday bash, family reunion, or just a Friday night hangout, this dessert fits right in.
- Crowd-Pleaser: Kids love it, adults rave about it, and picky eaters? They’re always coming back for seconds.
- Unbelievably Delicious: The combo of moist chocolate cake, creamy ice cream, and crunchy toppings is downright addictive.
What sets this choco-cake ice cream dessert apart is the layering technique. Instead of just mixing cake and ice cream together (which is fine, but kind of basic), you create distinct layers. This means every bite is a little different—sometimes you get mostly cake, sometimes more ice cream, sometimes a perfect mix. I’ve tried a lot of recipes, but this is the one where people always ask, “How did you get it to taste like this?” The secret is letting the cake soak up just a bit of melted ice cream before chilling, so it becomes extra soft and flavorful.
Honestly, this recipe is comfort food at its finest. It’s nostalgic, playful, and just plain fun. You don’t have to be a pastry chef to pull this off. If you want something that wows without stress, this is your new party staple. Trust me—after you make it once, you’ll find excuses to make it again!
Ingredients Needed
This choco-cake ice cream dessert calls for straightforward ingredients, but each one plays a key role in creating that irresistible party appetizer vibe. Most are pantry staples, and there’s plenty of room for you to swap things based on your preferences or dietary needs.
- For the Cake Layer:
- Chocolate cake (store-bought or homemade, about 2 cups crumbled; use gluten-free if needed)
- Unsalted butter, melted (2 tablespoons / 28g; helps bind the cake)
- Vanilla extract (1 teaspoon / 5ml; optional, but adds nice depth)
- For the Ice Cream Layer:
- Vanilla ice cream (2 cups / 475ml; soften slightly for easy spreading)
- Chocolate ice cream (2 cups / 475ml; for extra chocolate punch, or swap with strawberry for variety)
- For the Crunch/Topping:
- Chocolate chips or chunks (½ cup / 85g; use mini for better distribution)
- Crushed cookies (¼ cup / 30g; Oreos, graham crackers, or gluten-free options work well)
- Chopped nuts (¼ cup / 30g; walnuts, pecans, or almonds; skip for nut-free)
- Sprinkles (optional, for color and fun)
- For the Drizzle:
- Chocolate syrup (2 tablespoons / 30ml; or homemade ganache)
- Caramel sauce (optional, 2 tablespoons / 30ml; adds richness)
If you’re feeling adventurous, you can swap the cake for brownies, blondies, or even a cookie base. For the ice cream, try using dairy-free coconut ice cream or a lower-sugar variety if you like. The toppings are totally up to you—sometimes I use chopped dried fruit or pretzel pieces for extra crunch. I usually stick with Ghirardelli or Trader Joe’s chocolate chips for quality and flavor. For parties, I often set out a few extra toppings so guests can customize their own slices. The beauty of this recipe is how flexible it is—make it your own!
Equipment Needed
- 8×8-inch (20x20cm) baking pan: Best for layering and slicing; glass or metal works.
- Parchment paper or plastic wrap: Makes removing and serving easier.
- Mixing bowls: For combining cake crumbs and melted butter.
- Spatula or spoon: To spread and smooth layers.
- Ice cream scoop: Helpful for portioning and layering ice cream.
- Measuring cups and spoons: For accuracy—especially with toppings.
- Knife: For slicing the finished dessert.
If you don’t have a baking pan, you can use a loaf pan or even a muffin tin for mini versions. I’ve used both, and honestly, muffin tins are fun for individual servings at parties. If you’re short on mixing bowls, just rinse and reuse the same one—no biggie. For maintenance, always line your pan for easy cleanup, and if you use nonstick pans, avoid metal utensils so you don’t scratch them. Budget-friendly tip: Check thrift stores for pans and scoops—I found my favorite spatula for $1!
Preparation Method
- Prepare the Cake Layer:
- Crumble the chocolate cake into fine pieces (you should have about 2 cups / 200g).
- In a mixing bowl, combine cake crumbs with melted butter and vanilla extract. Mix until crumbs are evenly moistened.
- Press the cake mixture into the bottom of your lined 8×8-inch (20x20cm) pan. Use a spatula to flatten and pack it down. Chill in the freezer for 10 minutes.
Tip: If the cake is too dry, add another tablespoon of melted butter or a splash of milk.
- Add the Ice Cream Layers:
- Remove both ice cream flavors from the freezer and let them soften at room temperature for about 5 minutes.
- Spread the vanilla ice cream (2 cups / 475ml) evenly over the chilled cake layer. Use a spatula to create a smooth surface.
- Place the pan back in the freezer for 10 minutes to set the first ice cream layer.
- Spread the chocolate ice cream (2 cups / 475ml) on top of the vanilla layer. Smooth again. Freeze for another 15-20 minutes until firm.
Warning: Work quickly so the ice cream doesn’t melt too much, or you’ll get a soggy cake base.
- Add Crunch and Toppings:
- Sprinkle chocolate chips (½ cup / 85g), crushed cookies (¼ cup / 30g), and chopped nuts (¼ cup / 30g) over the top layer. Add sprinkles if you like.
- Press toppings gently into the ice cream so they stick.
Note: Kids love helping with this step, but warn them not to press too hard!
- Drizzle and Final Freeze:
- Drizzle chocolate syrup (2 tablespoons / 30ml) and caramel sauce (2 tablespoons / 30ml) over the toppings. Use a fork or spoon for artistic swirls.
- Cover the pan with plastic wrap and freeze for at least 2 hours, or until completely set.
Tip: If you’re prepping in advance, freeze overnight for best texture.
- Slice and Serve:
- Remove dessert from freezer about 10 minutes before serving to soften slightly.
- Lift out using parchment or wrap, then slice into squares or rectangles.
- Serve chilled on a platter with extra drizzle if you want.
Personal tip: I always wipe the knife between cuts for cleaner slices!
If you run into issues with melting, just pop the pan back into the freezer for a few minutes. If your cake layer crumbles, press it down a little more firmly next time. The layers should be distinct but easy to eat with a fork or spoon. You’ll know it’s just right when you see neat layers and hear that little crunch from the toppings.
Cooking Tips & Techniques
Making choco-cake ice cream dessert isn’t rocket science, but a few tricks can really make it shine. Here’s what I’ve learned over countless batches:
- Softening Ice Cream: Let ice cream soften just enough to spread, but not melt completely. Too soft, and it’ll run; too hard, and you’ll tear the cake base.
- Layering: Use a spatula dipped in warm water to smooth out each ice cream layer. It makes the top look bakery-worthy!
- Chilling Between Steps: Always pop the dessert back in the freezer after adding each layer. This keeps everything neat and prevents mixing.
- Topping Placement: Press toppings gently, or they’ll fall off when you slice. Learned that the messy way—trust me!
- Clean Slices: Warm your knife under hot water and wipe between cuts. This gives you those Instagram-perfect squares for your party platter.
Common mistakes? Rushing the freezing times (layers mix together and get mushy), skipping the parchment paper (hard to lift out), and using overly soft cake (it doesn’t hold up). If you multitask, get your cake layer ready while ice cream softens—you’ll save a few minutes and keep everything moving. I’ve had batches where the ice cream melted too much, so I just pressed it back and refroze—imperfect, but still delicious.
Consistency is key, especially for parties. If you want extra insurance, make the dessert the night before and let it set overnight. That way, you’re not scrambling an hour before guests arrive. It’s a dessert that forgives minor slip-ups, but a little patience pays off big time!
Variations & Adaptations
This choco-cake ice cream dessert is so versatile, you’ll never get bored. Here are some fun ways to switch things up:
- Dietary Variations: Use gluten-free chocolate cake and dairy-free ice cream. I’ve made it with almond flour brownies and coconut milk ice cream—totally delicious.
- Seasonal Twists: Swap chocolate ice cream for pumpkin spice or peppermint during the holidays. Top with crushed candy canes or spiced nuts for extra festivity.
- Flavor Adaptations: Try a layer of peanut butter ice cream or swirl in raspberry jam between cake and ice cream. For adults, a splash of coffee liqueur in the cake layer adds a grown-up kick.
If you want bite-sized appetizers, use a muffin tin for mini versions—perfect for serving at larger parties. For nut allergies, skip the nuts and use sunflower seeds or extra cookie crumbs. I once tried a version with lemon cake and blueberry ice cream for a summer cookout, and it was a hit. Don’t be afraid to get creative—this recipe is all about having fun and making it your own!
Serving & Storage Suggestions
Serve the choco-cake ice cream dessert chilled, straight from the freezer for best texture. I like to slice it into small squares and arrange them on a pretty platter—trust me, they look irresistible with all those colorful toppings. If you want to get fancy, drizzle a little extra chocolate or caramel just before serving.
This dessert pairs beautifully with fresh berries, whipped cream, or even a scoop of extra ice cream on the side. For drinks, I recommend cold brew coffee, milkshakes, or sparkling wine if you’re hosting adults.
For storage, keep leftovers tightly wrapped in the freezer for up to a week. If you need to store longer, use an airtight container to prevent freezer burn. To reheat (well, more like soften), just let the slices sit at room temperature for 5-10 minutes before serving. Flavors tend to deepen after a day or two, so sometimes the leftovers taste even better. If you’re prepping for a party, make it a day ahead to save stress!
Nutritional Information & Benefits
| Serving Size | Calories | Protein | Carbs | Fat |
|---|---|---|---|---|
| 1 square (approx. 60g) | 220 | 4g | 28g | 10g |
The main health boost comes from using real chocolate (antioxidants!) and nuts (healthy fats and protein). If you use gluten-free cake or dairy-free ice cream, it’s suitable for many allergy-friendly diets. Some toppings may contain nuts, dairy, or gluten, so check labels if you’re serving guests with dietary restrictions. Personally, I like knowing exactly what goes into my party appetizers—no mystery additives, just good stuff. Moderation is key, of course, but this is a dessert you can feel happy sharing!
Conclusion
There’s something magical about a dessert that brings people together—especially when it’s as easy and impressive as this choco-cake ice cream dessert. It’s flexible, fun, and guaranteed to be the star of your party appetizer spread. Whether you stick to the classic recipe or try a wild variation, you’re in for a treat that’s as much about joy as it is about flavor.
I love this recipe because it’s a celebration in every bite—rich, creamy, and crunchy all at once. If you’re hosting, prepping, or just craving something sweet, give it a try and make it your own. I’d love to hear how you customize it or what your guests think—drop a comment, share your photos, and let’s keep the party going!
Happy baking, happy scooping, and happy sharing—this dessert is ready for your next celebration!
FAQs
Can I make this choco-cake ice cream dessert ahead of time?
Absolutely! You can prepare it the day before and freeze overnight. It actually slices better when fully set.
What kind of cake works best for the base?
Any chocolate cake—homemade, boxed, or even leftover brownies. Gluten-free and dairy-free cakes work well too.
Can I use only one flavor of ice cream?
Sure! If you prefer, just use vanilla or chocolate. You can also experiment with any flavor you like.
How do I prevent the layers from mixing together?
Freeze between each layer and work quickly with softened, not melted, ice cream. Chilling is your friend!
What’s the best way to slice and serve for parties?
Let it soften for 10 minutes, use a warm knife, and wipe between slices for neat squares. Arrange on a platter and enjoy!
Pin This Recipe!
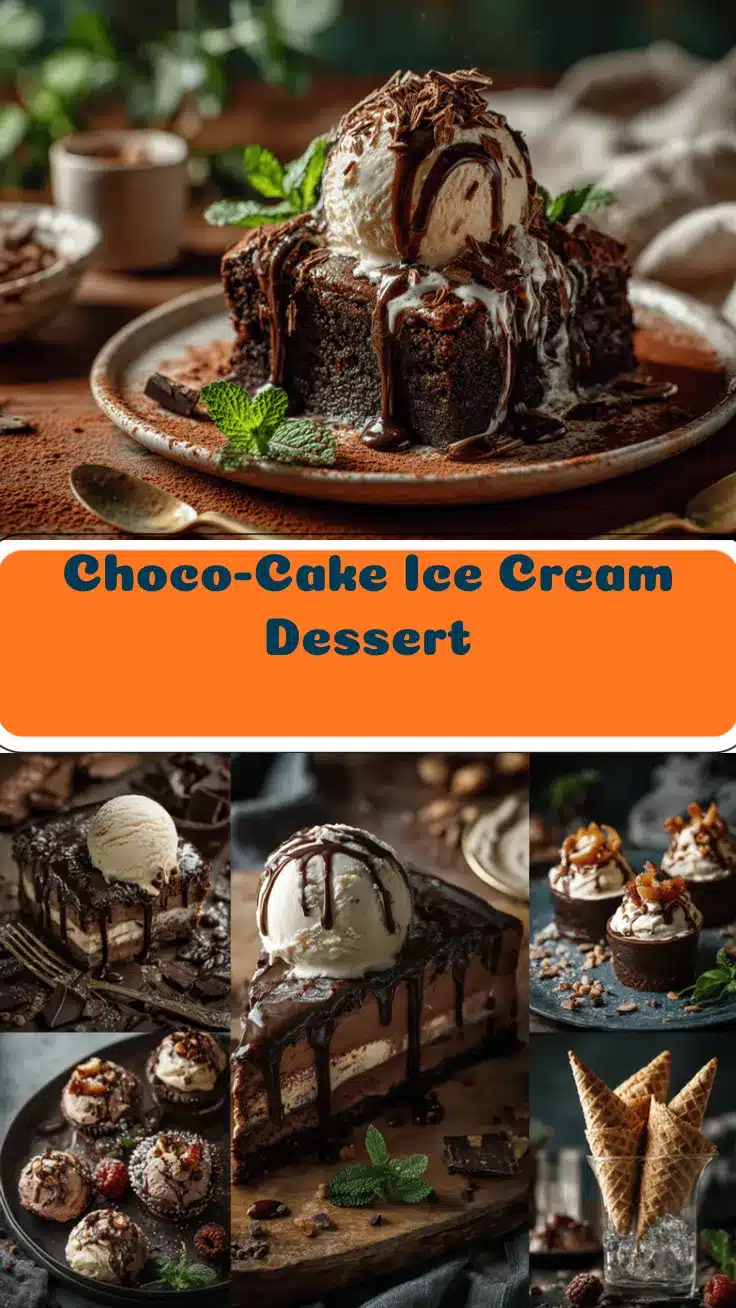
Choco-Cake Ice Cream Dessert: Easy Party Appetizer Recipe
- Total Time: 2 hours 45 minutes
- Yield: 16 squares 1x
Description
This choco-cake ice cream dessert features layers of moist chocolate cake, creamy ice cream, and crunchy toppings, making it a showstopping party appetizer that’s quick to prepare and always a crowd-pleaser. It’s adaptable for various dietary needs and perfect for any celebration.
Ingredients
- 2 cups crumbled chocolate cake (store-bought or homemade; use gluten-free if needed)
- 2 tablespoons unsalted butter, melted
- 1 teaspoon vanilla extract (optional)
- 2 cups vanilla ice cream, softened slightly
- 2 cups chocolate ice cream, softened slightly (or swap with strawberry for variety)
- 1/2 cup chocolate chips or chunks (mini preferred)
- 1/4 cup crushed cookies (Oreos, graham crackers, or gluten-free options)
- 1/4 cup chopped nuts (walnuts, pecans, or almonds; skip for nut-free)
- Sprinkles (optional)
- 2 tablespoons chocolate syrup (or homemade ganache)
- 2 tablespoons caramel sauce (optional)
Instructions
- Crumble the chocolate cake into fine pieces (about 2 cups).
- In a mixing bowl, combine cake crumbs with melted butter and vanilla extract. Mix until evenly moistened.
- Press the cake mixture into the bottom of a lined 8×8-inch pan. Flatten and pack it down with a spatula. Chill in the freezer for 10 minutes.
- Remove both ice cream flavors from the freezer and let them soften at room temperature for about 5 minutes.
- Spread the vanilla ice cream evenly over the chilled cake layer. Smooth with a spatula.
- Freeze for 10 minutes to set the vanilla layer.
- Spread the chocolate ice cream on top of the vanilla layer. Smooth again. Freeze for another 15-20 minutes until firm.
- Sprinkle chocolate chips, crushed cookies, and chopped nuts over the top layer. Add sprinkles if desired. Press toppings gently into the ice cream.
- Drizzle chocolate syrup and caramel sauce over the toppings. Use a fork or spoon for artistic swirls.
- Cover the pan with plastic wrap and freeze for at least 2 hours, or until completely set.
- Remove dessert from freezer about 10 minutes before serving to soften slightly.
- Lift out using parchment or wrap, then slice into squares or rectangles.
- Serve chilled on a platter with extra drizzle if desired.
Notes
For best results, freeze between each layer to keep them distinct. Use gluten-free cake and dairy-free ice cream for allergy-friendly versions. Warm your knife under hot water and wipe between cuts for clean slices. Make ahead and freeze overnight for easier slicing and deeper flavor. Toppings are customizable—try dried fruit, pretzels, or seasonal candies.
- Prep Time: 15 minutes
- Cook Time: 0 minutes
- Category: Dessert
- Cuisine: American
Nutrition
- Serving Size: 1 square (approx. 60g)
- Calories: 220
- Sugar: 18
- Sodium: 120
- Fat: 10
- Saturated Fat: 5
- Carbohydrates: 28
- Fiber: 2
- Protein: 4
Keywords: chocolate cake, ice cream dessert, party appetizer, easy dessert, layered dessert, gluten-free option, nut-free option, kid-friendly, summer dessert, make-ahead